Acrylic pouring is a popular painting technique that involves pouring different colors of fluid acrylic paint onto a surface to create a unique and vibrant design.
While canvas is the most common surface used for acrylic pouring, many artists have started to experiment with pouring acrylics onto wood, specially for projects that later on will require heavy embellishments (e.g. acrylic pour painting geodes or seascapes with sand), or a coat of resin.

Acrylic pour on wood is a great way to create gorgeous geodes, seascapes, or any type of art that requires a sturdy base that can withstand the weight of the paint and the embellishments.
When pouring acrylics onto wood, it's important to prepare the surface properly to ensure the paint adheres correctly. This may involve sanding the wood to create a smooth surface, applying a primer, or using a sealant to protect the finished design.
With the right preparation and technique, acrylic pour on wood can be a fun and rewarding way to explore this popular painting technique.
Preparing the Wood Surface
Before starting an acrylic pour on wood, it is important to properly prepare the surface to ensure the best possible results. This section will cover the three main steps to prepare the wood surface: sanding, cleaning, and priming.
Here are two videos that show how different artists prepare wood substrates for acrylic pouring.
Sanding the Wood
The first step in preparing the wood surface is to sand it. Sanding the wood will remove any rough spots and make the surface smooth, which is important for achieving a clean and even pour. Here are the steps to sand the wood:
- Start with a coarse grit sandpaper, such as 80 grit, and sand the entire surface of the wood.
- Switch to a finer grit sandpaper, such as 120 grit, and sand the entire surface again.
- If desired, switch to an even finer grit sandpaper, such as 220 grit, and sand the entire surface one more time.
- After sanding, wipe the surface clean with a damp cloth to remove any dust.
Cleaning the Wood
After sanding, it is important to clean the wood to remove any remaining dust or debris. Here are the steps to clean the wood:
- Use a clean, dry cloth to wipe the surface of the wood to remove any remaining dust.
- If there are any stubborn spots, use a slightly damp cloth to gently wipe them away.
- Allow the wood to fully dry before moving on to the next step.
By properly sanding and cleaning the wood surface, you will create a smooth and clean canvas for your acrylic pour. This will help ensure that the paint flows evenly and creates a beautiful finished product.
Priming the Wood
Priming wood is an essential step in preparing the surface for acrylic pouring. This process involves applying a base layer of paint, primer, or gesso to the wood surface, which helps to create a smooth and consistent surface for the fluid acrylic to adhere to.
Before priming, it's important to ensure that the wood is clean and dry. Once the wood is ready, you can use a brush or roller to apply the primer evenly across the surface, being sure to cover all areas.
Let the paint, primer, or gesso to dry completely before starting your acrylic pour, as this will prevent the paint from seeping into the wood and creating an uneven finish.
With a properly primed surface, you'll be able to achieve beautiful and vibrant results with your acrylic pour.
Preparing the Acrylic Paint
Choosing the Right Paints
Before starting an acrylic pour on wood, it is important to choose the right type of paint. Acrylic paints come in different consistencies, including heavy body, fluid, and soft body.
Mixing the Paints
To prepare the acrylic paint for pouring, it is necessary to mix it with a pouring medium. A pouring medium is an additive that thins the paint while maintaining its color and consistency. It also helps the paint to flow smoothly and prevents cracking.Add water to your paint mixes to get them to the desired consistency.
Adding Additives
In addition to pouring medium, additives can be added to the acrylic paint to create different effects. Silicone oil is a popular additive that creates cells in the paint, while alcohol can be used to create a web-like effect.
Pouring the Acrylic Paint
Choosing a Pouring Technique
Before pouring the acrylic paint on the wood, it's important to choose a pouring technique that will give the desired effect. There are various pouring techniques that can be used, including the dirty pour, flip cup, swipe, and puddle pour.Here are some ideas of techniques you can try:
Pouring the Paint on the Wood
Once the pouring technique has been chosen, it's time to pour the paint onto the wood.
You should have already prepared your different paint colors by mixing them with a pouring medium and any other additives such as silicone oil. The consistency of the paint should be thin enough to pour but not too runny.
Next, place the wood on a level surface and elevate it using cups or painter's pyramids to prevent the paint from pooling underneath.
Pour the paint onto the wood in a steady stream, use a cup to layer your paints and pour the paint onto the center of the wood, or swipe your colors. This step really depends on what technique you've chosen to do.
Once the paint has been poured, tilt the wood in different directions to allow the paint to flow and create unique patterns.
Removing Bubbles
After pouring the acrylic on the wood, it is common to have bubbles form on the surface. To remove these bubbles, use a heat gun or a torch to lightly pass over the surface. This will cause the bubbles to pop and the surface will become smooth. Be careful not to overheat the surface as this can cause the paint to burn.
Finishing the Acrylic Pour on Wood
Drying the Painting
Drying the painting is an important step in the process. Allow the painting to dry for at least 48-72 hours before touching it. Depending on the thickness of the paint, it may take longer to dry.
To speed up the drying process, place the painting in a warm, dry area with good ventilation. Avoid placing the painting in direct sunlight or near a heat source.
It's important to note that acrylic pour on wood can take longer to dry than on other surfaces. It's recommended to let the painting dry for at least 1 week before adding any finishing touches or sealing the surface.
Sealing the Painting
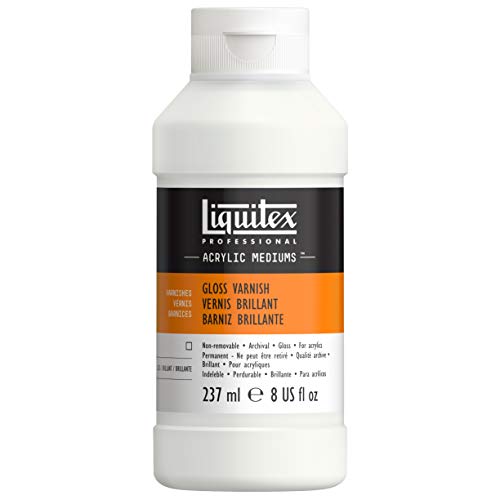
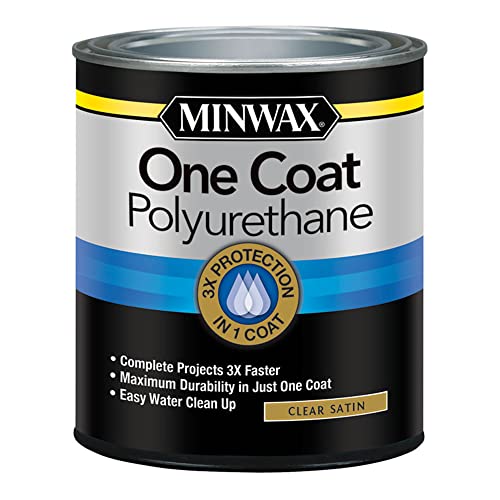
Sealing the painting is important to protect the surface and maintain the integrity of the artwork. There are several options for sealing the painting, including varnish, resin, or polyurethane.
Varnish (liquid or spray) is a popular choice as it is easy to apply and dries clear.

Resin provides a high-gloss finish and is more durable than varnish.

Polyurethane is a good option for outdoor use as it is weather-resistant.

When applying the sealant, follow the manufacturer's instructions carefully. Apply the sealant in thin, even coats, allowing each coat to dry completely before applying the next. Use a brush or sponge to apply the sealant, and be sure to work in a well-ventilated area.
Here is a more in-depth tutorial on How to Seal Acrylic Paint on Wood
Overall, finishing an acrylic pour on wood requires attention to detail and patience. By following these steps, you can create a beautiful and long-lasting piece of art.
