Have you ever wondered how do you make acrylic pour flowers? Do you want to create an acrylic pour flower painting? Well, keep on reading because you will find 3 tutorials with different acrylic pouring techniques to make beautiful flower paintings.
If you don't know what you need to acrylic pour, don't worry because I will also list the supplies that you need for each project along with a tutorial video to guide you through the process.
Choose the one you like most or do all of the flower paintings!
Let's get started.
#1. Flower Over a Black Background
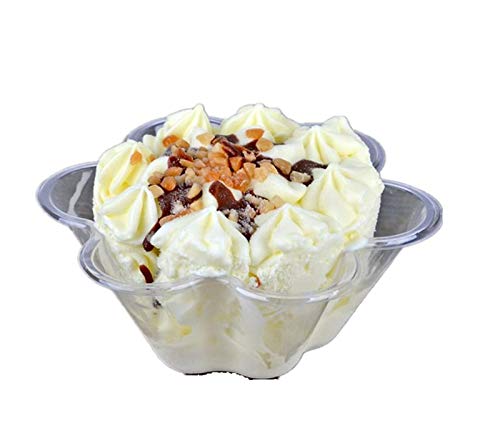
You really must see this AMAZING acrylic pour FLOWER painting!!! It is a gorgeous flower made of only 4 colors. This painting is using the reverse flower dip technique with a paper napkin.
SUPPLIES NEEDED

Paper napkin or towel


Black paint for the base coat

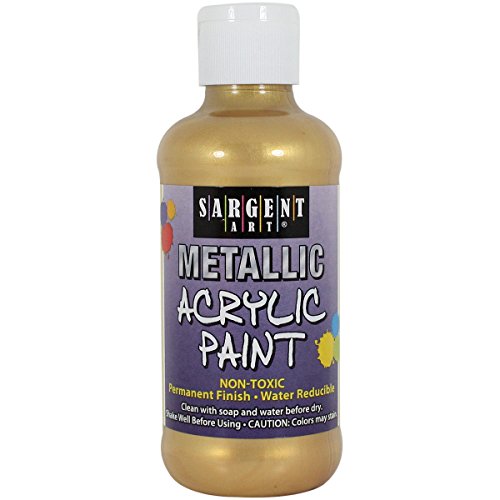
Naples Yellow paint for flower

Amsterdam Greenish Blue


Vallejo Pearl Medium


PROCEDURE:
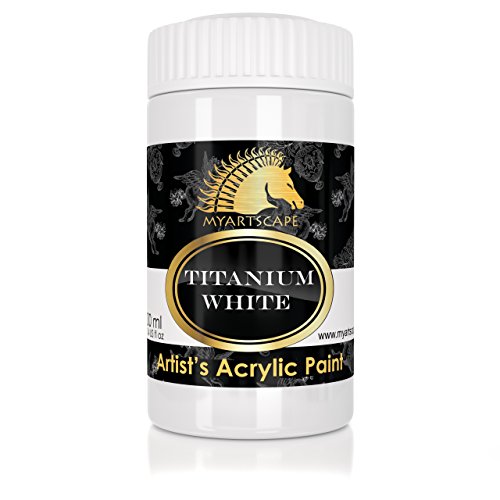
Mix your black, greenish blue, bordeaux red, and naples yellow paint with pouring medium to the right consistency. Mix your titanium white paint with Vallejo pearl medium and pouring medium in the following ratios (1 part Vallejo pearl medium, 1 part titanium white, 2 parts pouring medium). You can also add a little acrylic binder to each paint mixture to help prevent paint cracking.
Pour your black base on the canvas.
Put your flower shaped dessert cup with the bottom up.
Pour paints on top of the cup alternating between the blue, red, yellow, and white colors.
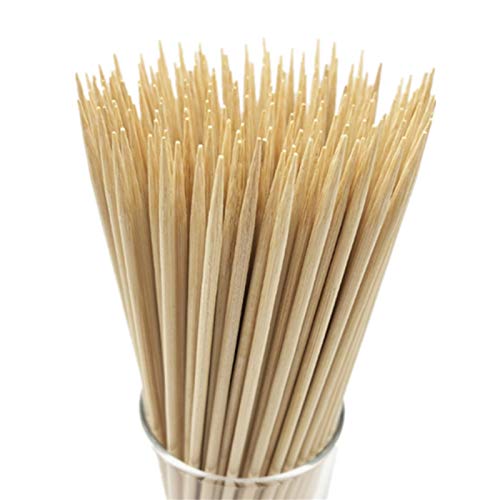
Take off the cup and use the skewer to draw some petal shapes.
Gently put a paper towel on the canvas. Gently lift each end of the paper towel one at a time and gather the corners in the middle. Then hold the corners of the paper towel and lift the paper towel off the painting.
Torch it to remove air bubbles and to activate pearl white.
#2. Purple Dutch Pour Flower
I love this painting since it is pretty easy to do and you get a beautiful purple flower. This painting uses the dutch pour technique.
SUPPLIES NEEDED


PROCEDURE:
Mix your violet, metallic gold, mars black and titanium white paints with floetrol and water. The creator mixed 1 part paint, 2 parts floetrol, and a little bit of water until she reached the desired consistency.
Pour your white base on the canvas.
Pour your paints as you see in the video tutorial above.
Then use your lungs to blow the paint into a flower shape like shown on the video.
Use a torch to remove air bubbles.
#3. Red Flower Made with String
This red flower painting is so beautiful yet it uses very little supplies. It uses a curly string along the the string pull technique.
SUPPLIES NEEDED


PROCEDURE:
Separately mix your black, red, and yellow acrylic paints with Elmer's Glue-all in a 8:10 ratio. Then add a little bit of water to the mix to get your desired pouring consistency.
Pour your black base on the canvas.
Dip the string into the red paint, place the string on top of your canvas, and drag it like shown on the video tutorial above. Repeat this procedure to make several flower petals.
Finally add some yellow paint in the center of your flower in small strokes using your palette knife.

Need to keep track of your recipes and techniques?
Check out the "Painting Diary" Printables!
Conclusion
These 3 acrylic pour flower tutorials each are made with different techniques and therefore have a beauty of its own. Hopefully you enjoyed each one of them and are brave enough to try at least one.
Remember to add a sealer coat a few days after your painting dries so that the colors in your flower pops. Here are three acrylic sealer options that I love depending on the look that you are going for!
And don't forget to let me know in the comments below what type of painting you would like to try next so I can help you find some tutorials!


